3D Wall Panels
email:contact@londonwest.com
phone:07885776224

PANELS FROM £125
PLEASE READ THE INSTRUCTIONS CAREFULLY BEFORE USING THIS PRODUCT
STEP 1: INITIAL SURFACE PREPARATION
The product is made to install over relatively smooth flat surfaces. Surface must be clean, dry and free of loose
debris. All major holes or major damage that could interfere with installation must be repaired prior to installing
wall panels. When installing over glossy plaster or paint rough up the surface with sandpaper to dull the surface
and create a tooth for bonding.
STEP 2: 3D WALL PANEL PREPARATION
Tiles should acclimate for 24 - 48 hours in the environment and temperature they will be installed in.
STEP 3: INSTALLING WALL PANELS
You must determine if the installation will be wall-to-wall, a floating design (leave an even border all around
to avoid cutting), a strip of tiles, etc. It is important to have this well thought out before beginning. If you are
unsure, lay the tiles out on the floor or draw a grid on the wall to help you decide.
PERMANENT INSTALLATION METHOD
This method will require construction or mastic tile glue adhesives to be applied to back of panel and glued to
the wall and also pin nailing the panels to the wall studs for added support. Use stud finder to locate the wall
studs and draw a vertical line ceiling to floor. After planning your layout you are ready to install the panels.
Apply a bead of construction adhesive along the perimeter back side of the panel and flat areas around the
middle. Mount your first panel and use a level to ensure proper alignment. Use nail gun and shoot nails on flat
area of panel in wall stud that have been marked, typically you should be able to have 4 nails per panel, if
needed you can shoot into drywall but make certain no electrical wires are behind that area using stud finder with
A/C locater. The nails help secure the panel in place and helps maintain panel flat to the wall while glue dries.
Continue installing panels next to the other. Panels will have slight rough lip edges which helps provide a small
gap when panels are butted together, this small gap will be filled using wood filler, some edges may need sanding
to allign properly with other panels installed.
On a wall-to-wall install, when at all possible, work across the wall moving toward the corner from left or right
side to minimize cutting, try to have the cut tiles on the more inconspicuous side of wall. If you work from center
out, keep in mind the tiles that fall at the top, bottom and both edges may need to be cut. Plan your design well
to ensure desired results are what you expect. Remember, measure twice and cut once.
CUTTING THE 3D WALL PANELS
In most installations you will probably need to make some cuts to the panels. The panels can be cut using
several tools. They can be cut using a table saw, jig saw, handheld electric or manual saw. After cutting
use 180 grit or higher sandpaper to smoothen the cut edge.
STEP 5: FILLING THE SEAMS AND SANDING
Before starting this step make sure the adhesive used to secure the panels has cured. With most modular
products it is inevitable that you will have seams. Therefore to help minimize the seams we recommend filling
the seams using paintable wood filler that resists shrinking and cracking. Apply wood filler using either finger
or putty knife, smooth out filler with finger or damp cloth and allow proper dry time as per manufacturer,
reapply if needed. Once wood filler is dry and cured you can begin sanding lightly using 180 or finer grit
sandpaper, brush away any sanding debris using slightly damp cloth.
PRIMER/SEALER AND PAINTING
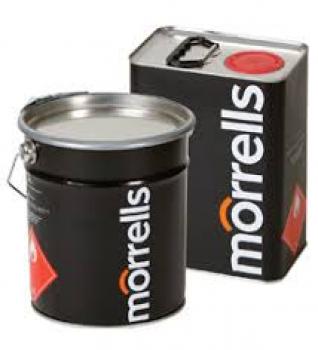
IMPORTANT: USE OIL BASED PRIMER & SEALER ON MDF PANELS, LATEX PAINT CAN BE USED
FOR TOP COAT.
At this stage inspect the wall and see if any touch ups or last bit of sanding is needed. Apply a coat of
primer/sealer using your choice of painting method. After the primer dries, we recommend a quick, light
and gentle sanding over the entire wall. This will help ensure a smooth surface for painting by removing
any foreign debris accrued on the panels during the installation process. Use a 350 grit or higher sandpaper.

A second coat of primer may be needed, test your color on small area and if you feel another coat of primer
is needed then do so or else you can apply your final coat of paint color. Any type of paint and finish will
work as long as panels are primed. Keep in mind that when painting the panels its preferred to apply
lighter coats as opposed to heavy coats of paint to avoid oversaturation to the wall panels. Follow the
paint manufacturer's instructions on the paint chosen for number of coats, climatic, enviromental
conditions and dry times, etc.


Contact@londonwest.com
Phone:07885776224
Clockhouse lane east
Egham
